Watercolor paintings take the least amount of prep work before the actual painting. One of the main aspects is the paper. I also use all types of paper from inexpensive student grade to very expensive large sheets. Most of my sketch type work or paintings I intend to scan are done on less expensive paper. Larger compositions go on the thicker paper.
Preparing

Watercolor paper is typed as either cold-pressed or hot-pressed. Cold-pressed has more texture whereas hot-pressed is smoother. I have always liked texture in my work so I almost exclusively use cold-pressed. I’ve also had watercolor paintings that I’ve either touched up with soft-pastel or used as a complete base for pastel paintings. The texture of cold-pressed gives me that option.
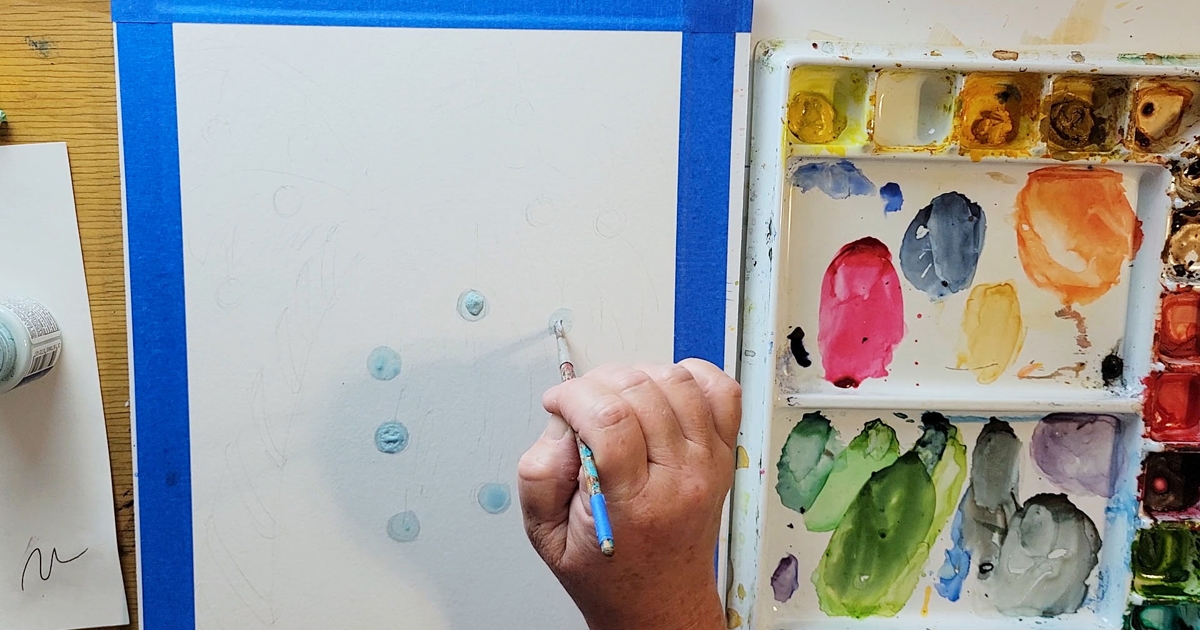
I tape down my paper onto a foam board, usually on all sides to prevent warping but if it’s a small sketch-painting I may just tape the corners. I do not soak and stretch the paper like some watercolorists do. I’ve tried this in the past and found it just wasn’t worth the effort. I’m also not a purist in that I can’t tolerate a little buckle or wave in the paper.
After I have the paper set, I do a very light pencil sketch. It depends on the painting on how detailed the sketch is. It may just be vague shapes to guide the composition or fine details. If I’m going to use masking fluid in a painting, I tend to do a more detailed drawing so I know exactly where to mask.
I try to draw light enough that I don’t need to erase but inevitably I usually have to try to tone down some of my lines. For this I use a kneaded eraser very gently. It may not seem like a big deal but erasing can remove some of the top layers of the paper and create issues with the paint. I’d rather have pencil lines in my finished painting than have paint behave unpredictably on the surface of the paper.
Painting
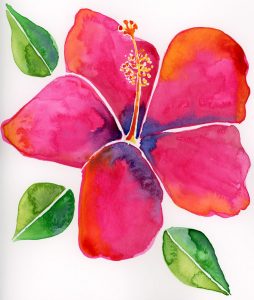
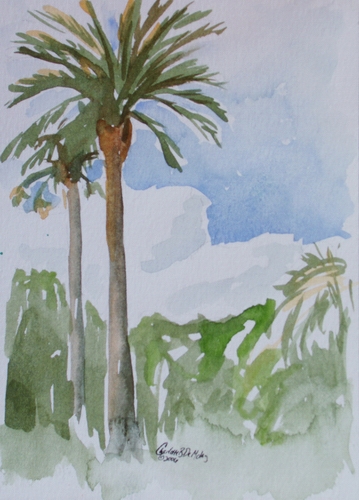
After the composition is on the paper, I mask any small details that I want to remain the white of the paper. I use a liquid masking fluid like Frisket with a dedicated paintbrush for this step. I only use this technique for small parts, like the sail masts in the marina painting or the center of the hibiscus. For large areas of white, I just avoid painting, like the clouds behind the palm trees.
With watercolors it is best to work from light to dark. It’s easy to add paint but almost impossible to remove. So where in other media I usually work from the background forward, in watercolors I’m all over the painting chasing the lights and darks rather than going by the compositional structure.
One of the hardest parts for me in watercolor painting is waiting for the paint to dry, literally. Wet watercolors grab each other creating blooms, bleeds, soft edges and other effects. I’m such an impatient painter that I find this happens more often than not in my paintings. This used to frustrate me which is why I didn’t work in watercolor as often as pastel and acrylic early in my artistic studies.
Now, I embrace the chaos. My style has loosened over the years. I’m more open to pushing and playing with the media I’m using as opposed to painting the perfect composition. Watercolor is my media of choice these days and I’m looking forward to seeing what comes of these explorations.