In Virginia I started experimenting with adding more texture in my paintings. At some point I had the idea of creating layers of depth with resin. I’m not sure where I first saw art resin but it looked promising.
Most artwork created with resin uses it either as the art itself through dyes and imbedded objects or as a seal over the art. I wanted to try something a little different and create layers with the resin to give a three-dimensional, sculptural effect to my paintings.
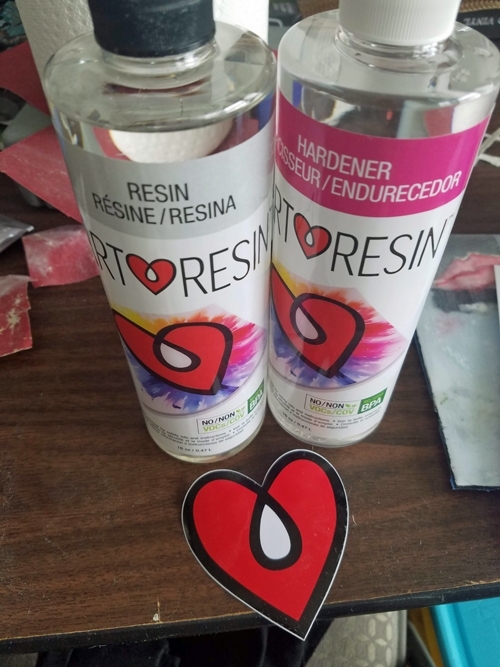
At some point Art Resin saw some of my art through social media and gifted me with the 16 ounce sizes of their resin and hardener and asked for me to do an article of my process. I’m ashamed to say that was about four years ago. A couple of house moves later, I’m finally repaying their generosity with this post.
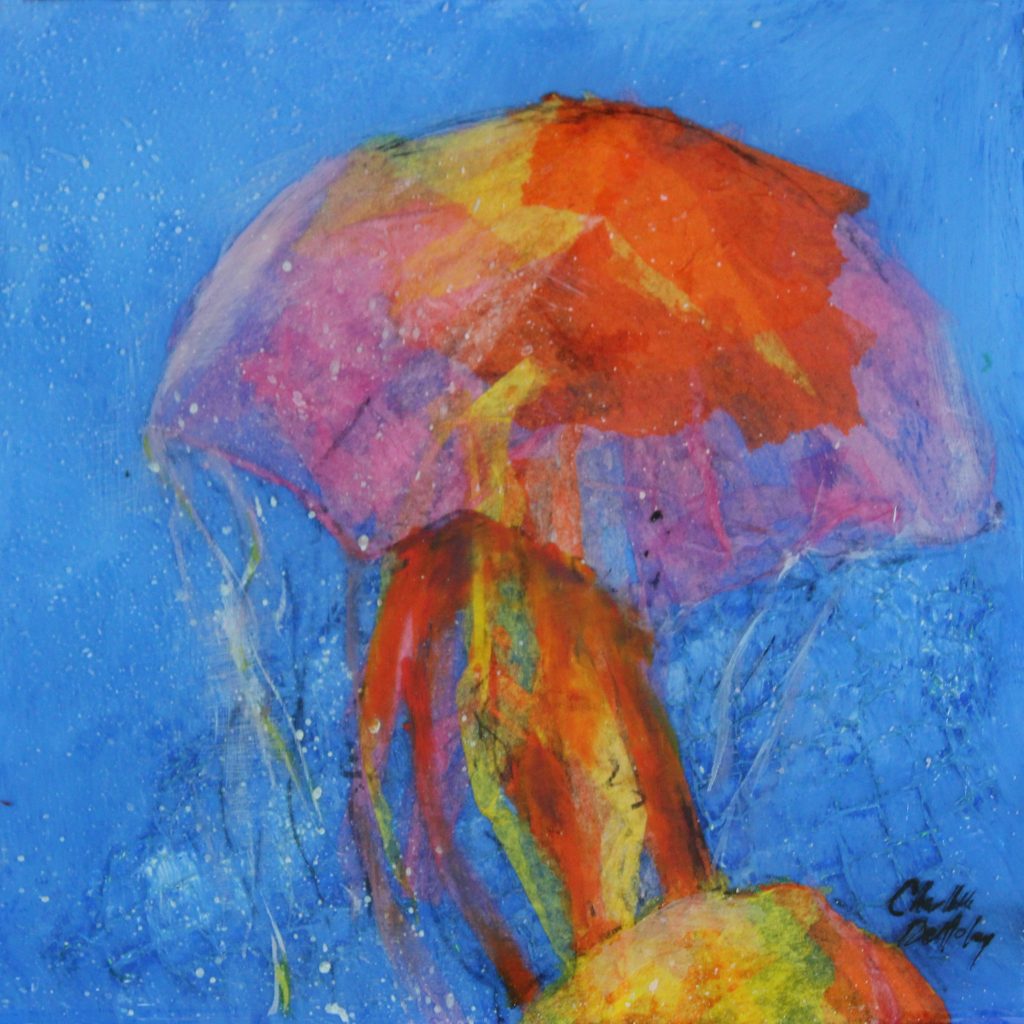
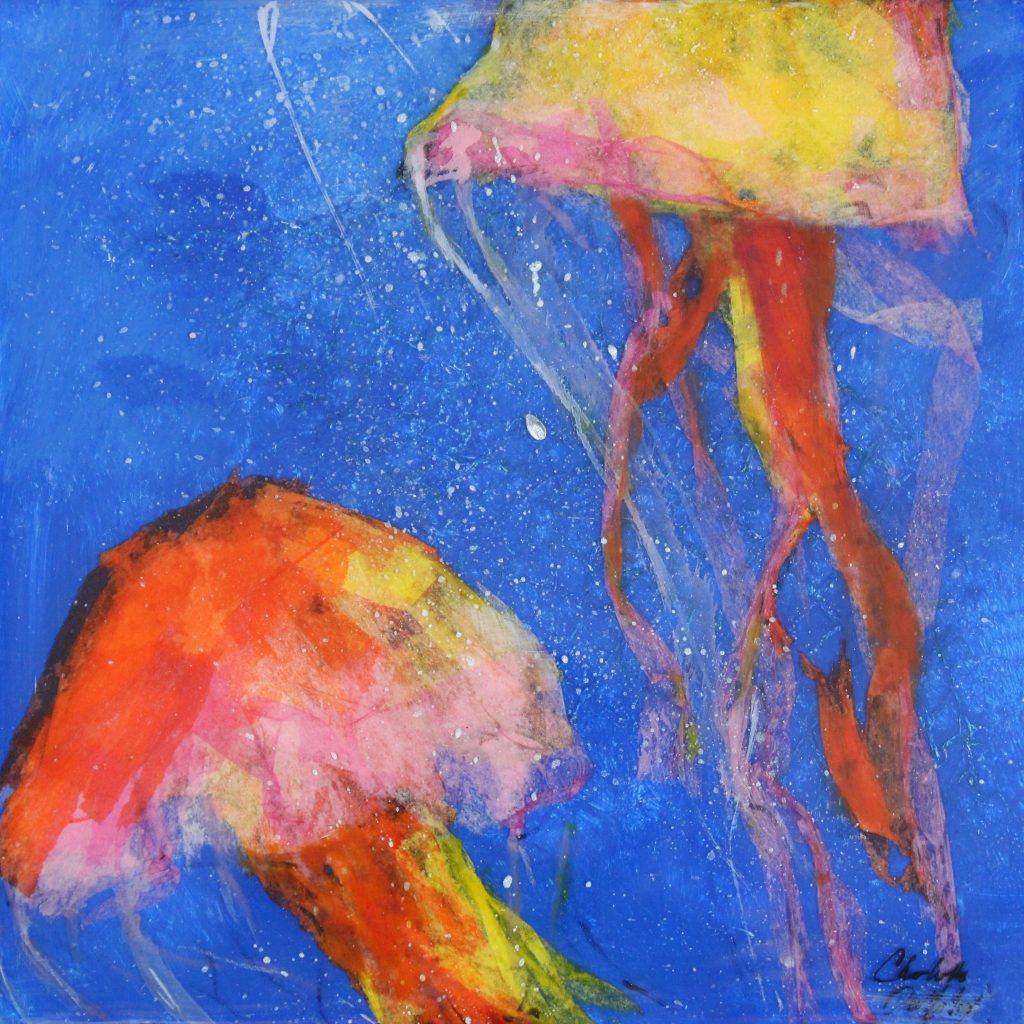
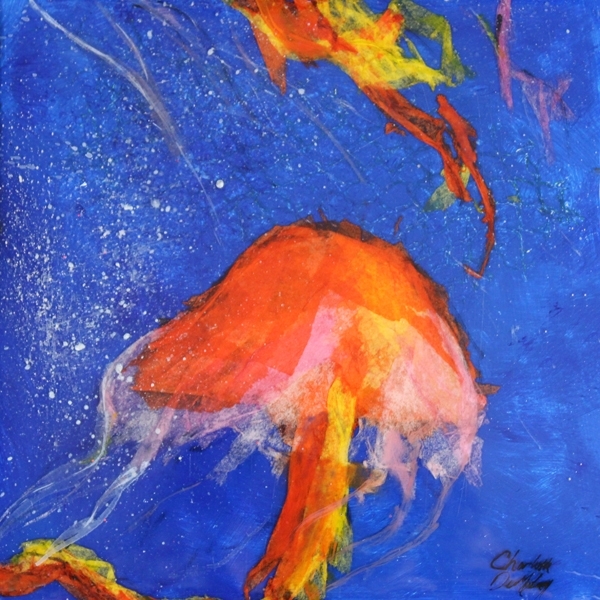
The Making of Dancing Jellies
When I first started using resin in my artwork, I used canvas. I quickly realized that multiple pours were heavy and I needed a sturdier base. Now I use cradled wood panels.
Prepping for the First Resin Pour
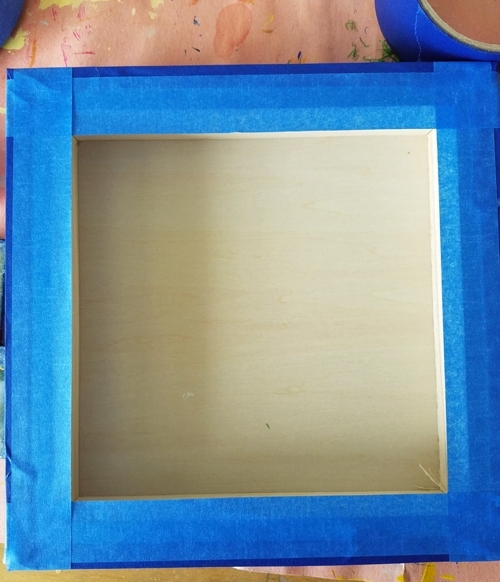
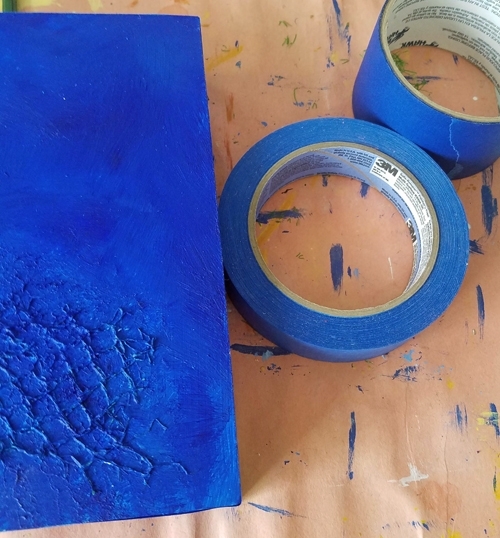
The first step is the background. I use acrylic paint and coat it rather heavy trying to get some of the brushstrokes as part of the texture. Sometimes I go ahead and imbed something in the paint of the base like this mesh from a fruit/vegetable bag. After the base layer is completely dry, I tape the sides and the back with painters tape. This protects it from the resin drips.
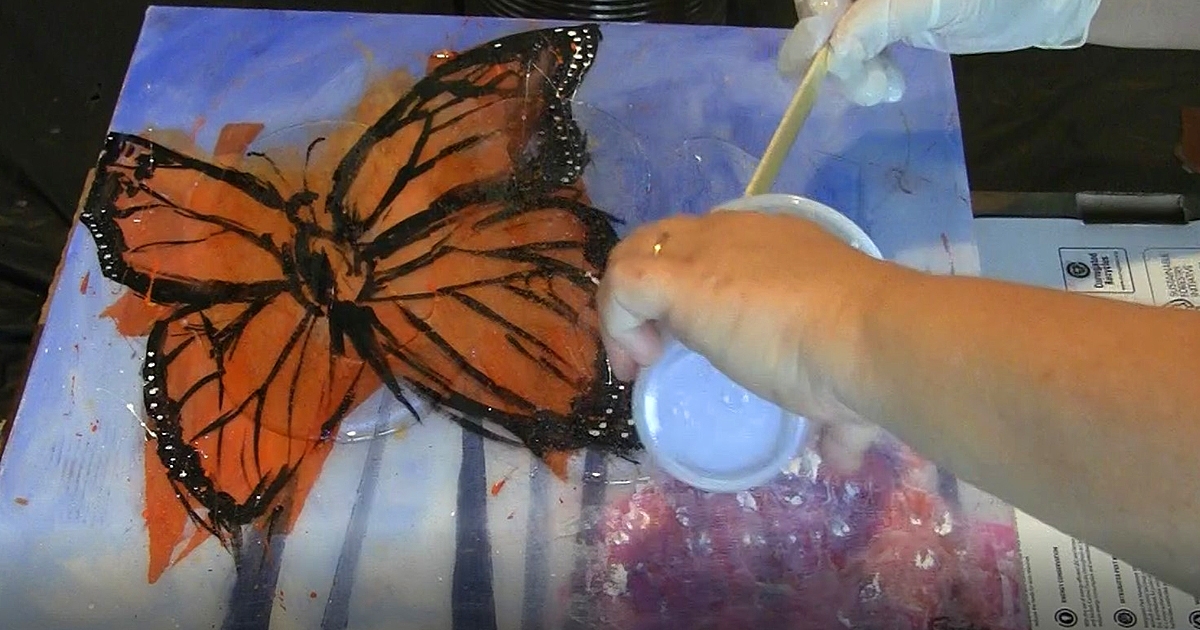
Next comes the first resin pour. Click here for a demo video on how I do resin pours. That was one of my first pours before I started using a torch. Now I use a small kitchen torch (the same one I make creme brulees with) to get the bubbles out. I do wear a mask while doing the torch. Art Resin is non-toxic but there is a smell when you use a flame on it. I’m pretty sensitive to chemicals so it’s just an additional comfort factor for me.
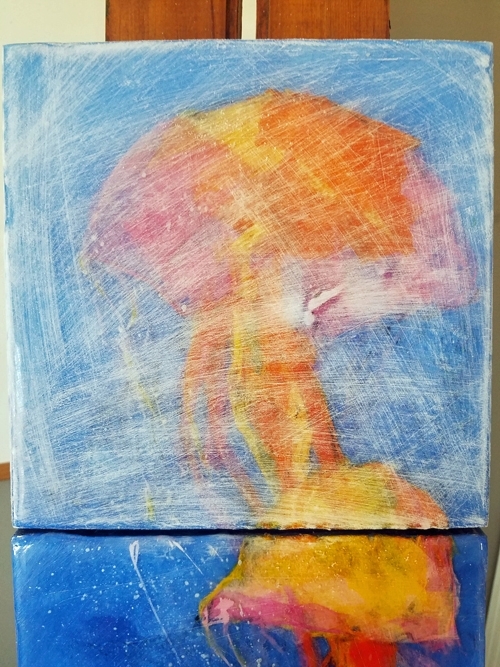
After the resin has 24-48 to dry (I usually wait at least 48 hours), I lightly sand the top to get it ready for the next painting layer. Although this looks bad when you do it, the next layer of resin fills in the little scratches and they disappear completely. The sanding is necessary though for the resin to adhere properly to itself after drying.
The Main Composition with Multiple Resin Pours
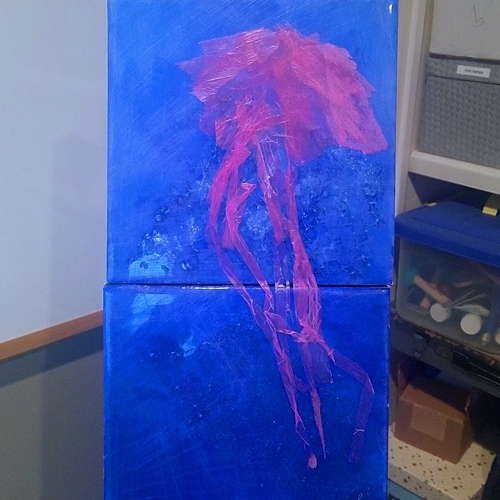
I use a combination of acrylic paint and art tissue paper to create the composition. I don’t try to do the entire composition for the first layer. It’s more of a base layer for the subjects, in this case, the jellyfish. I did another pour over this layer then started to really work on the jellyfish.
Since this composition is a triptych, I painted all three at the same time stacked on my easel. I essentially created one long painting and cut the tissue between the boards.
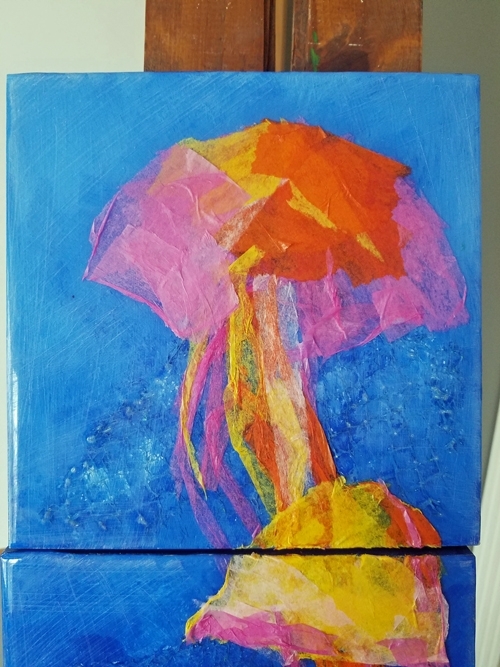
This layer of painting was my main layer. Again, I used a combination of art tissue paper and acrylic paint to add the tentacles and the highlighting and shading on the jellyfish. I also started adding flecks and splatters of paint to indicate bubbles in the water.
After the resin pour over the main layer (we are up to 3 pours at this point!) it’s time to evaluate. Am I done? Does the painting need anything else? I thought these were complete at three layers until I realized I had not signed the paintings! So I added a few more splatter for bubbles. Touched up the shadows and highlights a bit more…signed the paintings…and did a fourth pour.
Final Steps
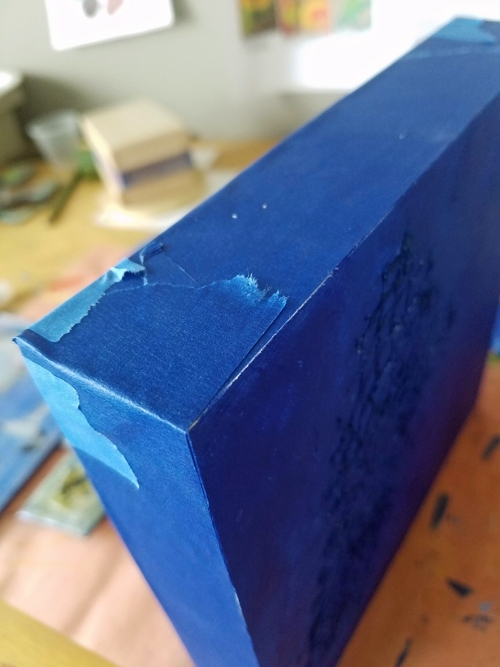
After the final pour it’s cleanup time. I removed the painter’s tape from the edge and back. The drips break off fairly easily. If any resin snuck under the tape, I sand it off. Then I paint the sides and get the artwork ready for hanging.
Again, many thanks to Art Resin for not only the supplies but the valuable support they offer artists and craftsman wanting to incorporate resin into their work. If you are the least bit curious about art resin, check out their website or search #art_resin on Instagram.