
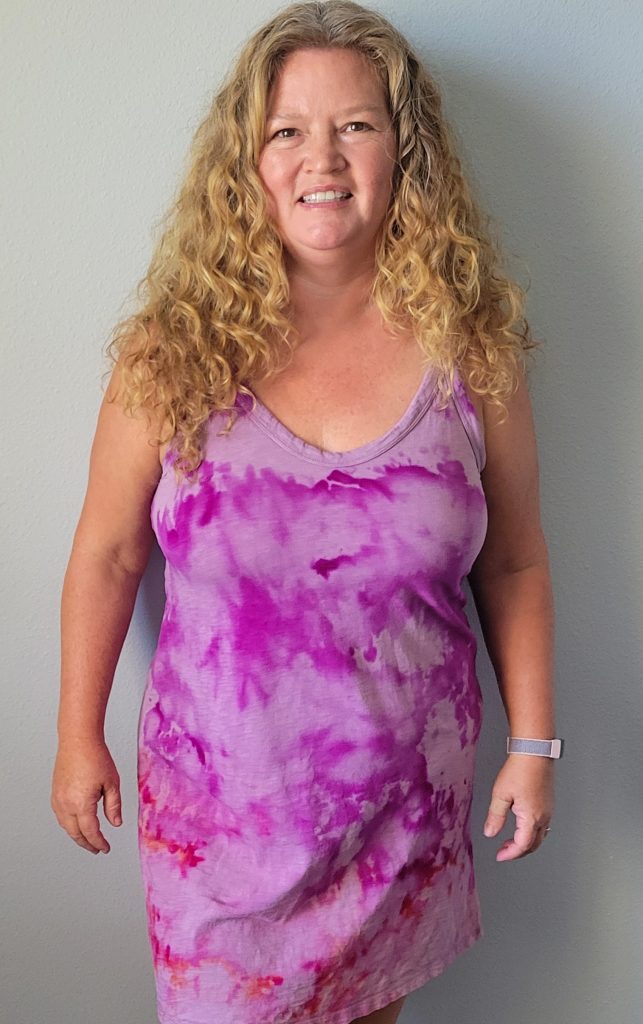
I bought a cheap sundress at Target. I loved the feel of it but it looked a bit like a nightgown. I decided to try ice tie-dyeing to add a little more interest to it.
Select your fabric item.
Natural fabrics like cotton or linen work best. Always prewash your fabric before dyeing.

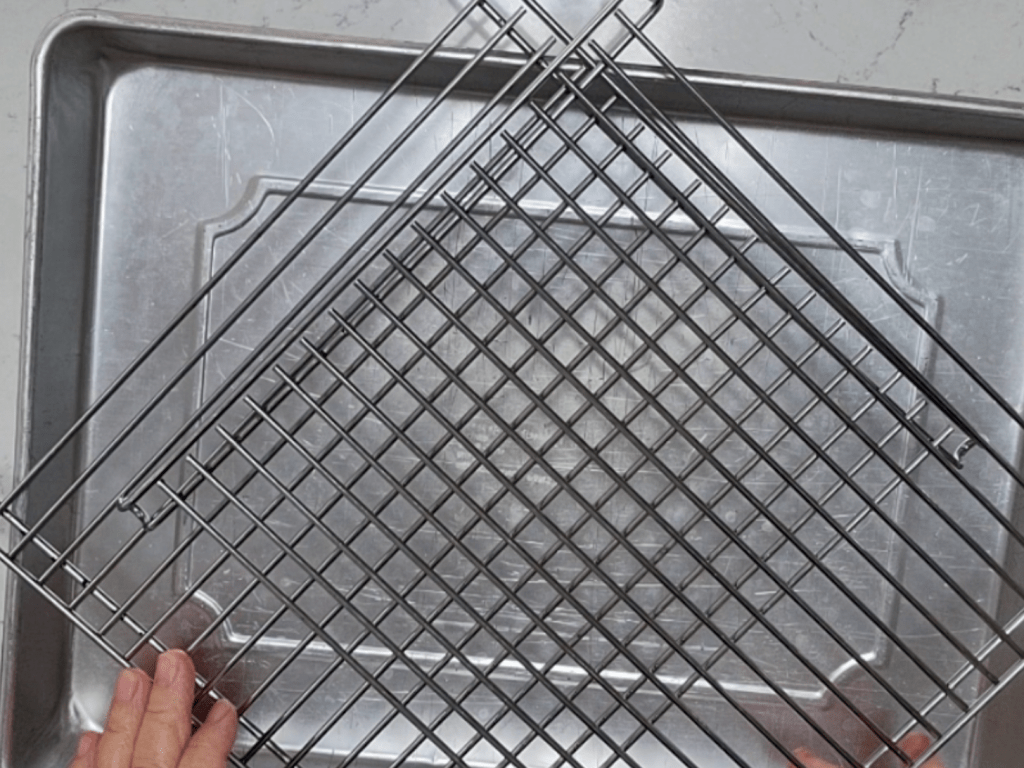
Choose a container for the ice and dye to drip into.
Use something to keep the fabric out of the drip puddles. I used a large cake pan and baking racks. You could use your oven racks over a stainless steel sink. Just be careful that all the dye will drip into a non-staining surface and not on your counter or table.
Choose your dye.
You need powder dye and don’t add water. I used Tulip One Step for this project.
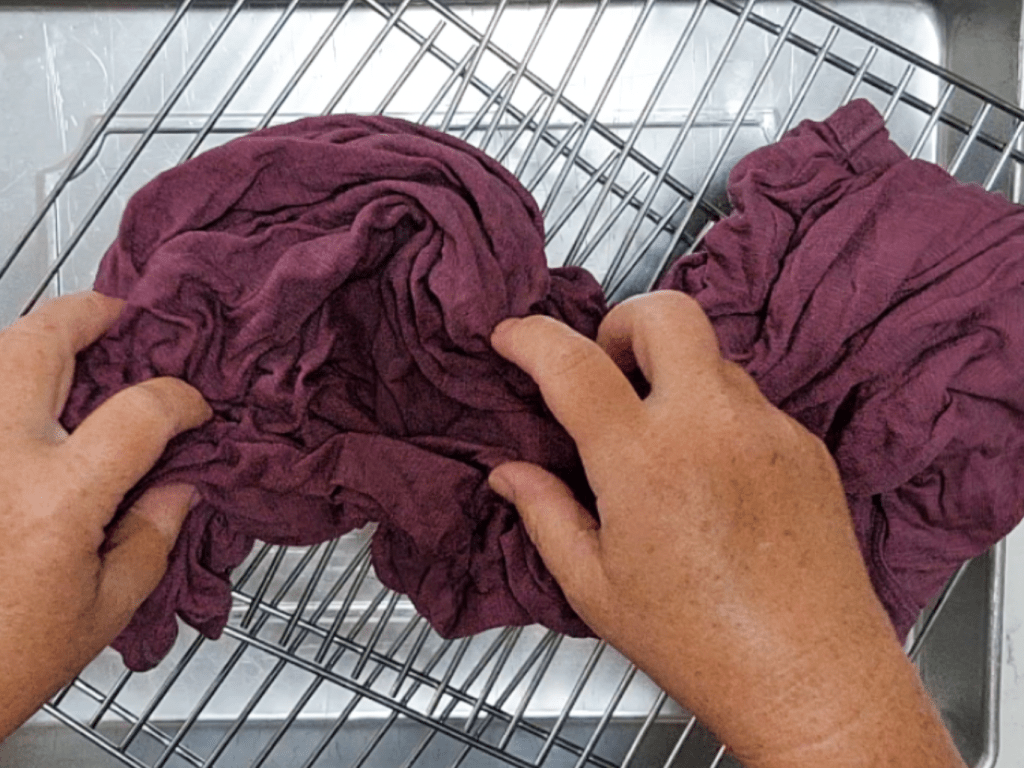
Wet your fabric and bunch it up on the rack.
You can do any traditional tie-dye twisting or folding for this step. Again, make sure your fabric is completely over where you want the dye to drip into.
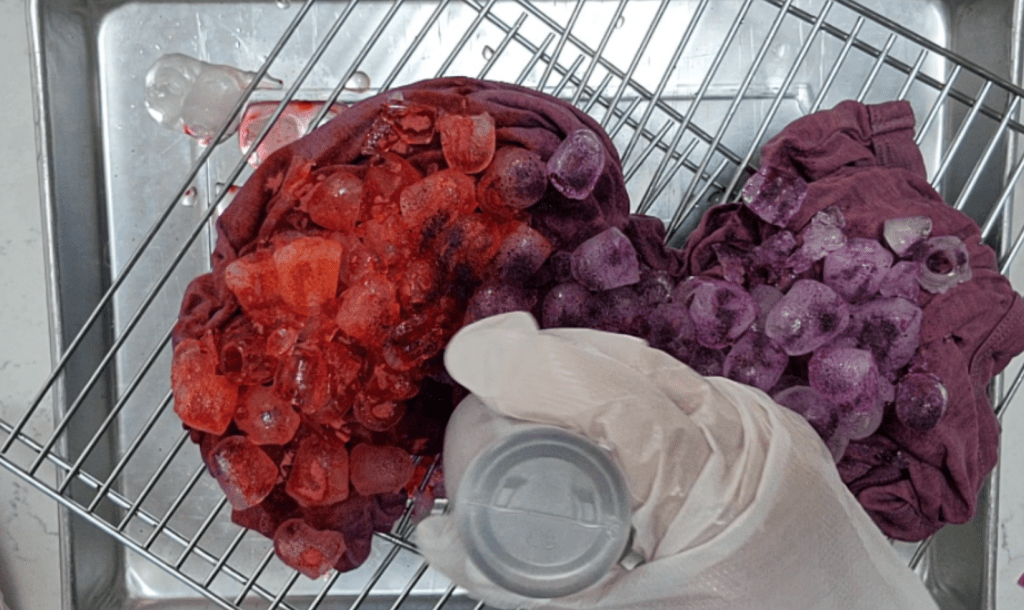
Start piling on ice.
Lots and lots of ice. As much as you can get to balance on your fabric.

Sprinkle the dye powder over the ice.
I put on gloves before this step to keep from dying my hands.
Cover loosely with plastic wrap to keep the moisture in the fabric.
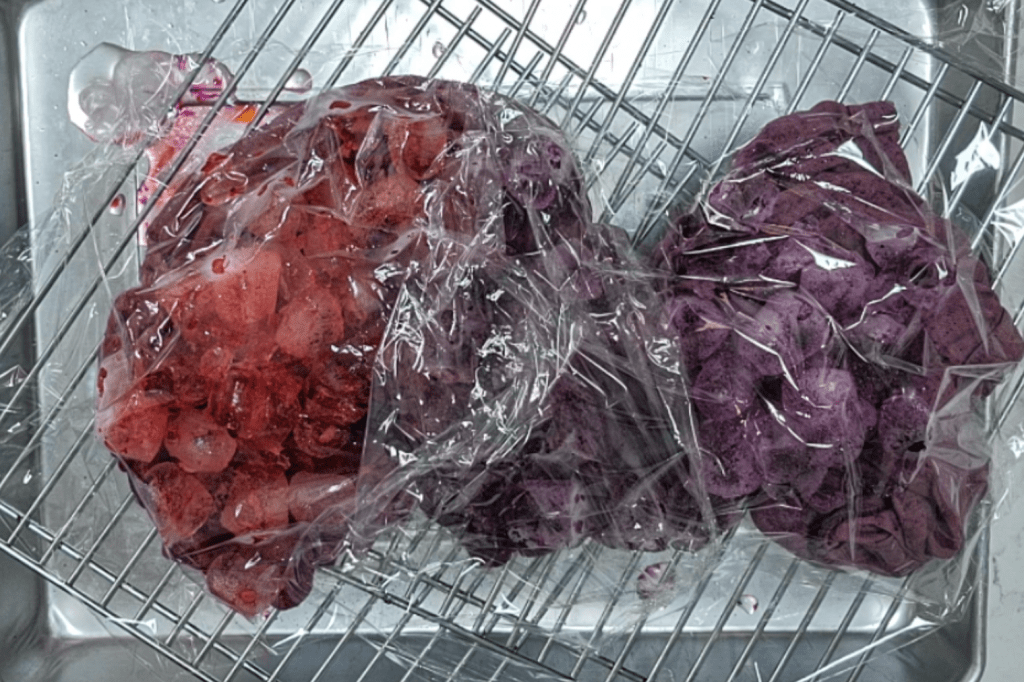
Let it sit for about 12-15 hours.
The ice will be long melted but the dye needs to set into the fabric a while.
Rinse well (gloves!) and wash the fabric.
For the first few times, wash separately as some of the dye will still be rinsing out.
Enjoy your new creation!
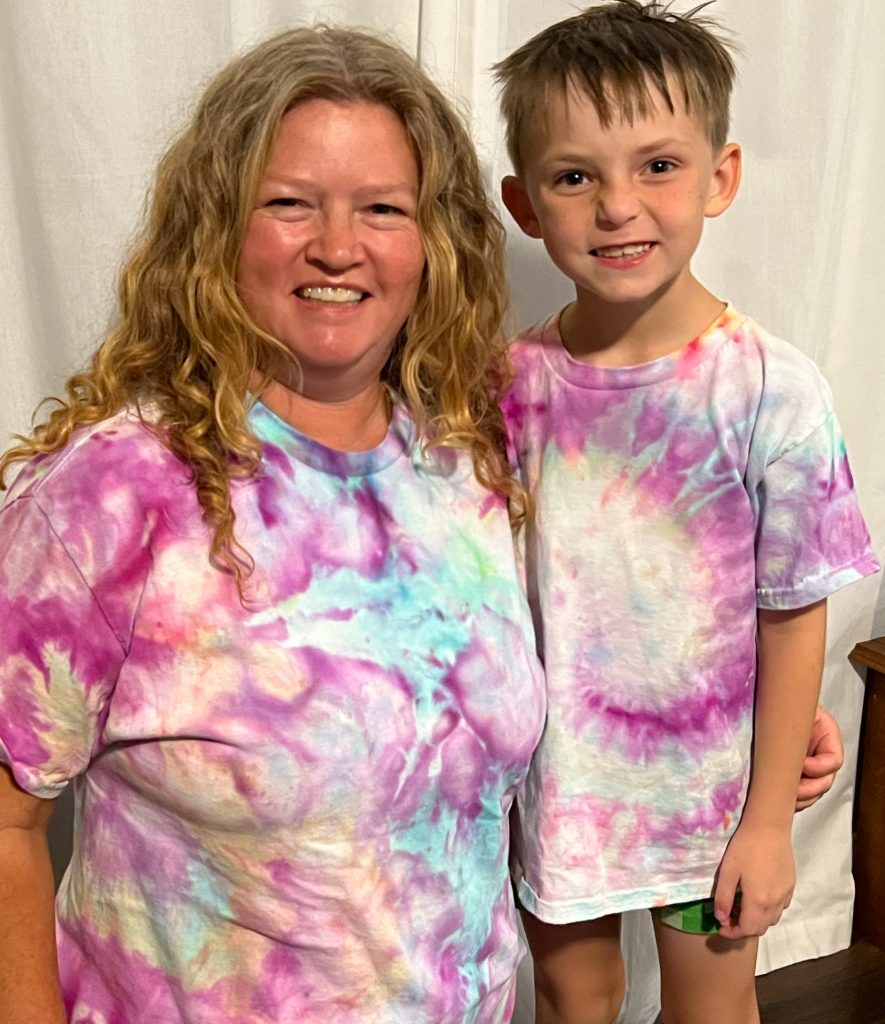
This is a great project to do with kids of any age. I did this with my 6-year-old grandson with a couple of white t-shirts. They turned out really cool as well.
I put a quick video of the process on YouTube.